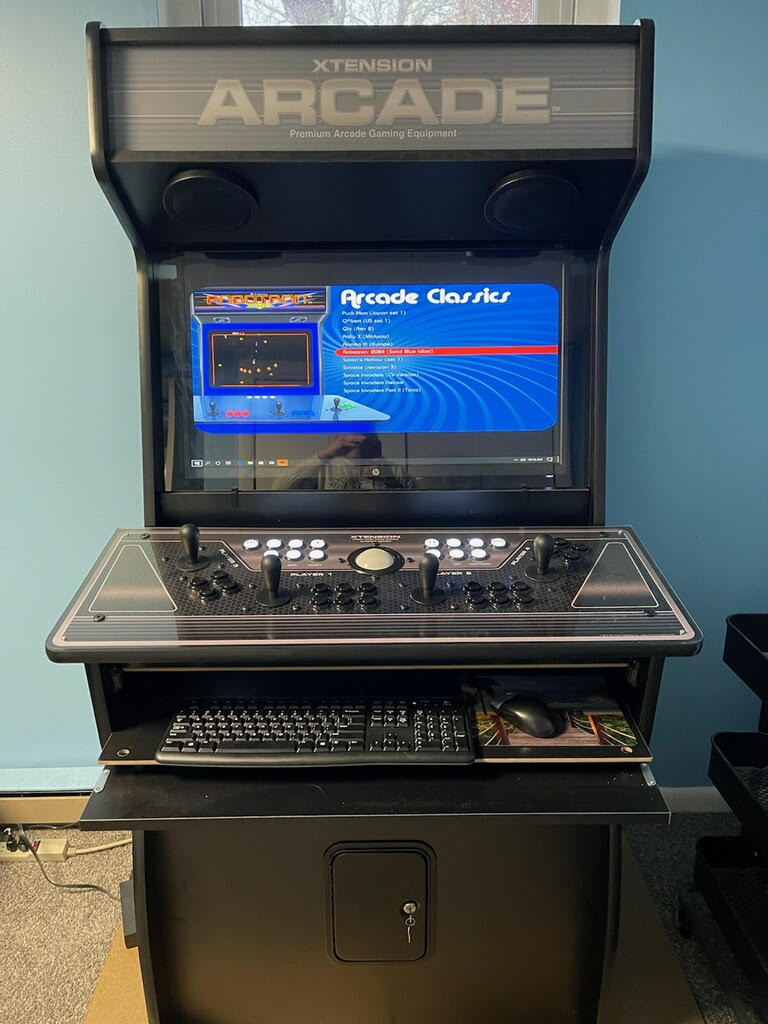
 This is a bit on how to troubleshoot issues that you may be having with a Tankstick, by Recroommasters. It’s a cool joystick/button assembly that will help you to relive a true arcade experience, whether you have the external hard drive, the stand alone console, or arcade cabinet installation of my arcade box. It can be purchased HERE. 😉
First thing to ask is it a button or joystick problem? If it’s a joystick ‘hanging’ problem, do you have a ‘rom’.ini file in the ini subdirectory for that particular game, addressing the 4 way versus 8 way joystick issue? So, the first thing to do might be to insure that the tankstick is working properly.
The tankstick basically just emulates a keyboard, so you should be able to just open a blank text file  and test button by button, and joystick by joystick to ensure that they ‘type’ the right character. However, some emulate special keys like ESC, so the diagnostic program might be in order. You can get it HERE. No matter which of the three versions of my arcade box you have, in order to run it, you will need the Java Runtime Environment installed. Download it HERE. If you are using the external hard drive version, it may already be installed, so you should check.
In checking out your tankstick, you may find that one or more joystick micro switches are not as sensitive as the rest. So, you may power everything down, turn it upside down, and unscrew the bottom. (The rubber feet do NOT have to be removed, but the little rubber caps on the feet do. Then, when open, adjust the micro switches as the picture on the right. The proper method is to hold the switch closed, and SLIGHTLY bend the arm, in the direction of the arrow, depending on if you want more or less sensitivity. Don’t worry, this is sanctioned by the manufacturer, and will not void the lifetime warranty.
Also, if a micro switch is bad, there should be spares inside the tankstick.
You shouldn’t need to take your joystick apart, but in case you do, here’s an exploded view on the left.  It also shows you the 4-way/8-way adapter that you reverse if you wish to make them permanent 4-way joysticks. With a little creativity, this would be useful. You could leave the two center joysticks as 8-way for games like Robotron, and make the two outside joysticks 4-way. However, then with 4-way games, you would have to set MAME to use those as player one/two. I still prefer my rom.ini file mapping solution. 😉
Now, that you are happy your tankstick is working properly, it’s time to turn our attention to MAME. As I mentioned before, if it’s a joystick ‘hanging’ issue, make sure you have an .ini file in the G:\MAME\ini\ directory. The name HAS to match exactly to the name of the rom that you are playing. If unsure how to accomplish this, you can reach out to me.
The next thing to try is to use the updated X-Arcade controller configuration. This file is located in the G:\MAME\ctrlr\ directory, and the outdated file is called xarcade.cfg and is from 2007. There never really was a need to enable this, since the xarcade emulates a keyboard, but using the updated configuration from 2017 might be in order. You can download the updated file HERE. Just unzip it, and put X-Arcade.cfg  in the directory above. Then, you have to enable it. Open the following file G:\MAME\mame.ini file (NOT directory, Jrod, LOL) by right clicking it and selecting EDIT. Then, look for the section in the pic on the right, and you will make the ctrlr line read just like the example. Remember, if it seems to make things worse, just blank that line back out. I recommend copying your mame.ini file somewhere, so you have a backup. Desktop might be a good place.

 Another nice MAME thing to know is how to change your button and joystick mapping. You can either do that globally, or per game. I recommend staying away from global changes until you get comfortable. First thing to do is load a game and hit the <TAB> key. This will bring up the menu on the left. Cursor down to Input (This Machine) and press ENTER. Then, the menu on the right will appear. You will notice the in this example, there is only one joystick. That is because on my test console, I only have one USB joystick attached. I RECOMMEND TAKING A PICTURE OF YOUR SETTINGS, SO YOU CAN ALWAYS GO BACK. Easy to forget. So, the way you change the P1 UP line is as follows:
To add something to the end, you hit ENTER, then you just press that key or move that joystick, so to add joystick3 up to that line, just move joy3 in the up direction. Do that for the four directions, and you can use joy3 just like joy1 in order to test.
In order to go back, you need to blank the line. Do it this way: Hit ENTER on the line, then quickly hit the ESC key. That blanks out the line, then Hit ENTER, and cursor up, then ENTER and joy1 up, etc. Hope this makes sense. One note, and it’s IMPORTANT. If your ESC key delay is set to 0 in the Maximus Arcade prefs, you will need to set it to 1 or 2, otherwise when you blank a line, you will exit the rom and you will need to reload it. Annoying.
Well, I hope that’s given everybody some tips on troubleshooting this Arcade setup. I’ve already posted the first four updates of the v.2.xx install, with another that will be released shortly. This is always the way it seems to work. Release one or more updates, and it spawns another one. Oh well, keeps me busy in retirement. 😉