Are you concerned about your digital footprint? Does it bother you that anyone listening can observe which websites you visit? Most people don’t know what DNS is or how much information it leaks. I’ll share with you what the problem is and how to fortify yourself against snoopers.
DNS (Domain Name System) is the backbone of the internet. Without it, browser requests would not resolve a domain name (e.g., crabradio.net) to an IP address. That’s essential, because the fundamental principles of routing traffic depend upon numbers (IP addresses). However, the designers of DNS did not consider privacy (or security). Consequently, it leaks every website you visit, which mail servers you use, and sometimes a lot more. A snooper can build substantial profiles on all of us, and they do. There is one saving grace, and there’s slow-moving progress in the right direction. Today, I have a solution that’s different from the rest.
This video does an excellent job of explaining how DNS works: DNS video but, if you already have a decent understanding of Domain Name System, you may wish to skip watching it.
You can see queries do not stop at your DNS server (aka recursive resolver). Further requests occur upstream, incrementally resolving them until they reach the “authoritative nameserver,” which handles domains it controls (called a DNS zone). We will cover the last mile today, the part between your OS (aka stub resolver) and the recursive resolver.
The “last mile” is a term used in telecommunication (from the service provider’s perspective) to describe the last leg between the system and the end-user. Conversely, the (unofficial) term “upstream” refers to all the other links (between the resolver and the nameservers). These words sound awkward together, so they’re worth an explanation.
Typical DNS requests also take place over connectionless UDP, which does not ensure packet stream integrity. Couple that with a lack of encryption, and they’re alarmingly easy to intercept and manipulate. In fact, it’s common practice for your ISP to do so, forwarding them to their own resolvers or modifying the response. So, if you think you’re using Cloudflare’s DNS, think again. Mass censorship systems also use such tactics: The Great Firewall of China uses deep packet inspection and DNS injection to reroute queries.
It’s important to realize that your DNS requests may traverse many jurisdictions, and often countries and organizations don’t share the same values as you. While some may have ideological differences, others have commercial intent. That’s not limited to foreign countries either. It’s well known that Comcast once redirected its customers to ad-laden web pages upon nonexistent domain (NXDOMAIN) errors.
While you may have nothing to hide, your DNS requests are being intercepted and redirected, which makes you vulnerable to social manipulation and commercial profiling. I don’t know about you, but the unregulated interception of my packets is deeply unsettling.
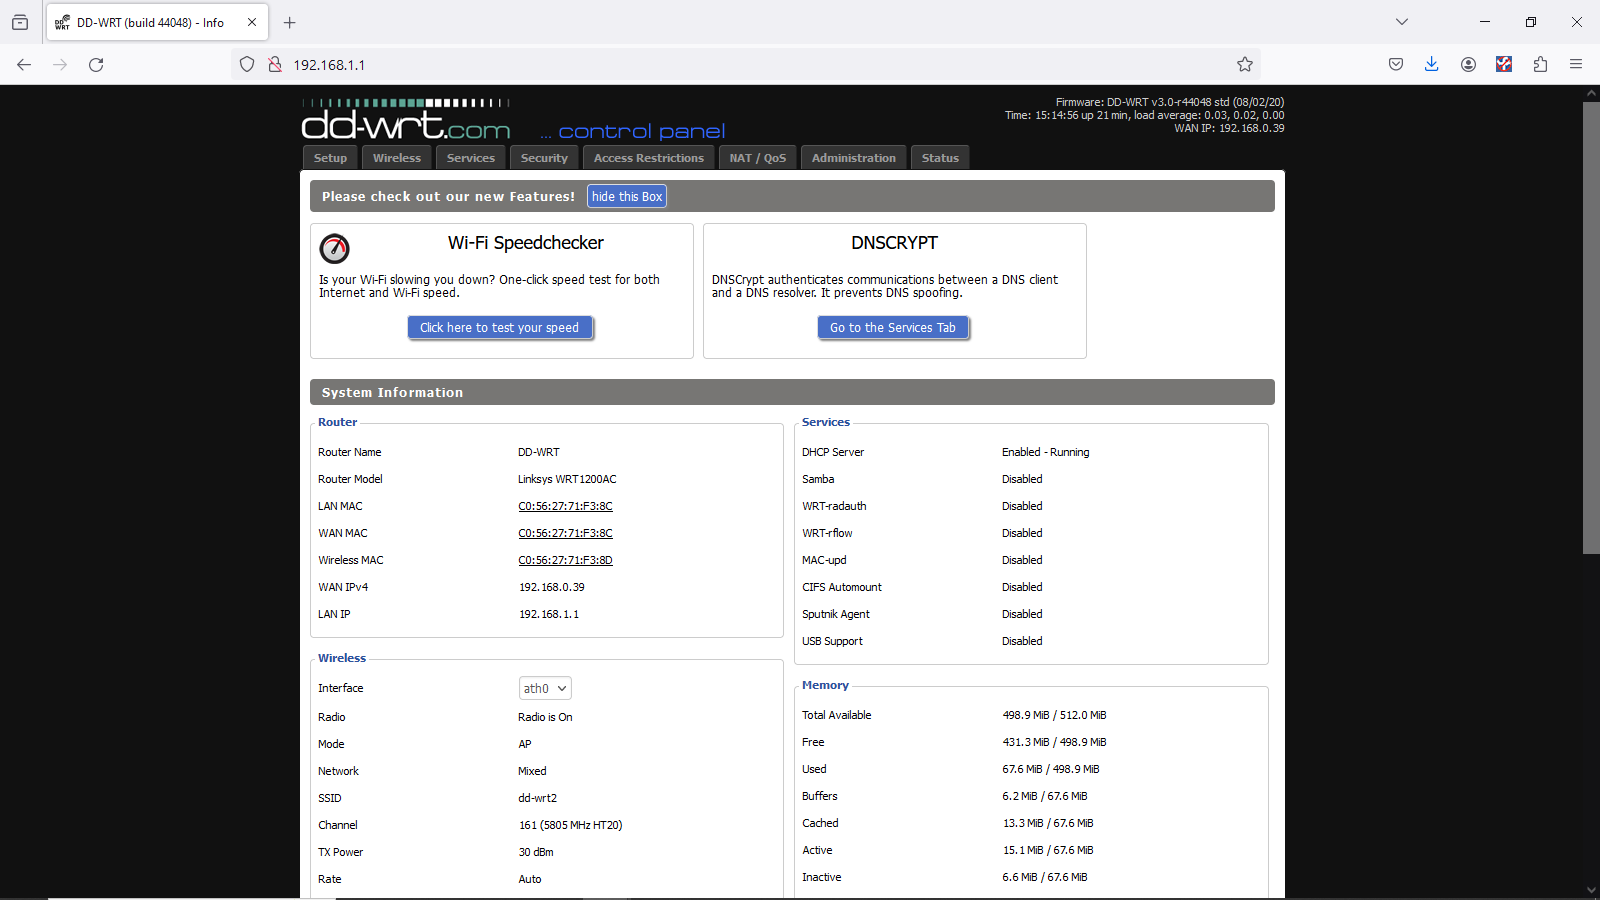
We’ve established that unencrypted DNS queries leave them open to interpretation and manipulation, and the strongest solution is always encryption. There are a couple of solutions to do this, with DNS-over-TLS (DoT) and DNS-over-HTTPS (DoH) being two. While good and often recommended, they don’t offer the additional features that DNSCrypt does. The DNSCrypt client site is HERE.
However, it’s the additional relay feature that seals the deal for me. When requested, DNSCrypt will send your encrypted requests through an intermediary (the relay). It can’t read the data, but it knows who made the request. When it forwards the packets, upstream only sees the relay making the request and the request data—which means they know nothing about you.
So DNSCrypt encrypts, pads, and routes your queries through a relay. All three make DNSCrypt the best choice for protecting your privacy.
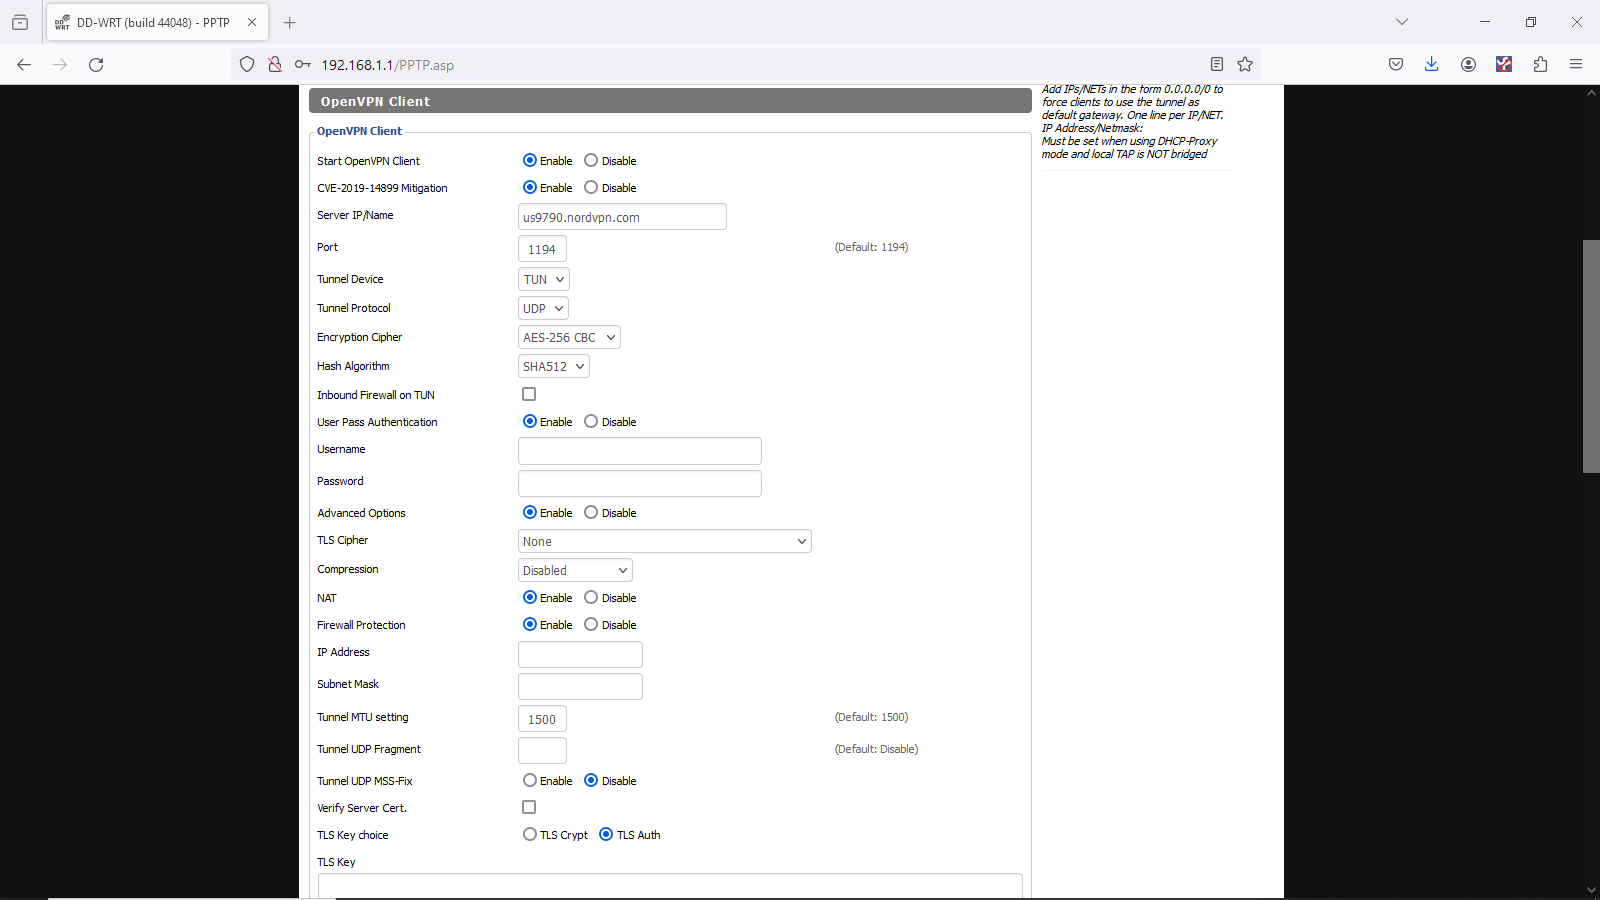
Awhile back, I made a post that showed you how to configure a linksys 1900acs router with NordVPN on it. The post is HERE, if you wish to review it.
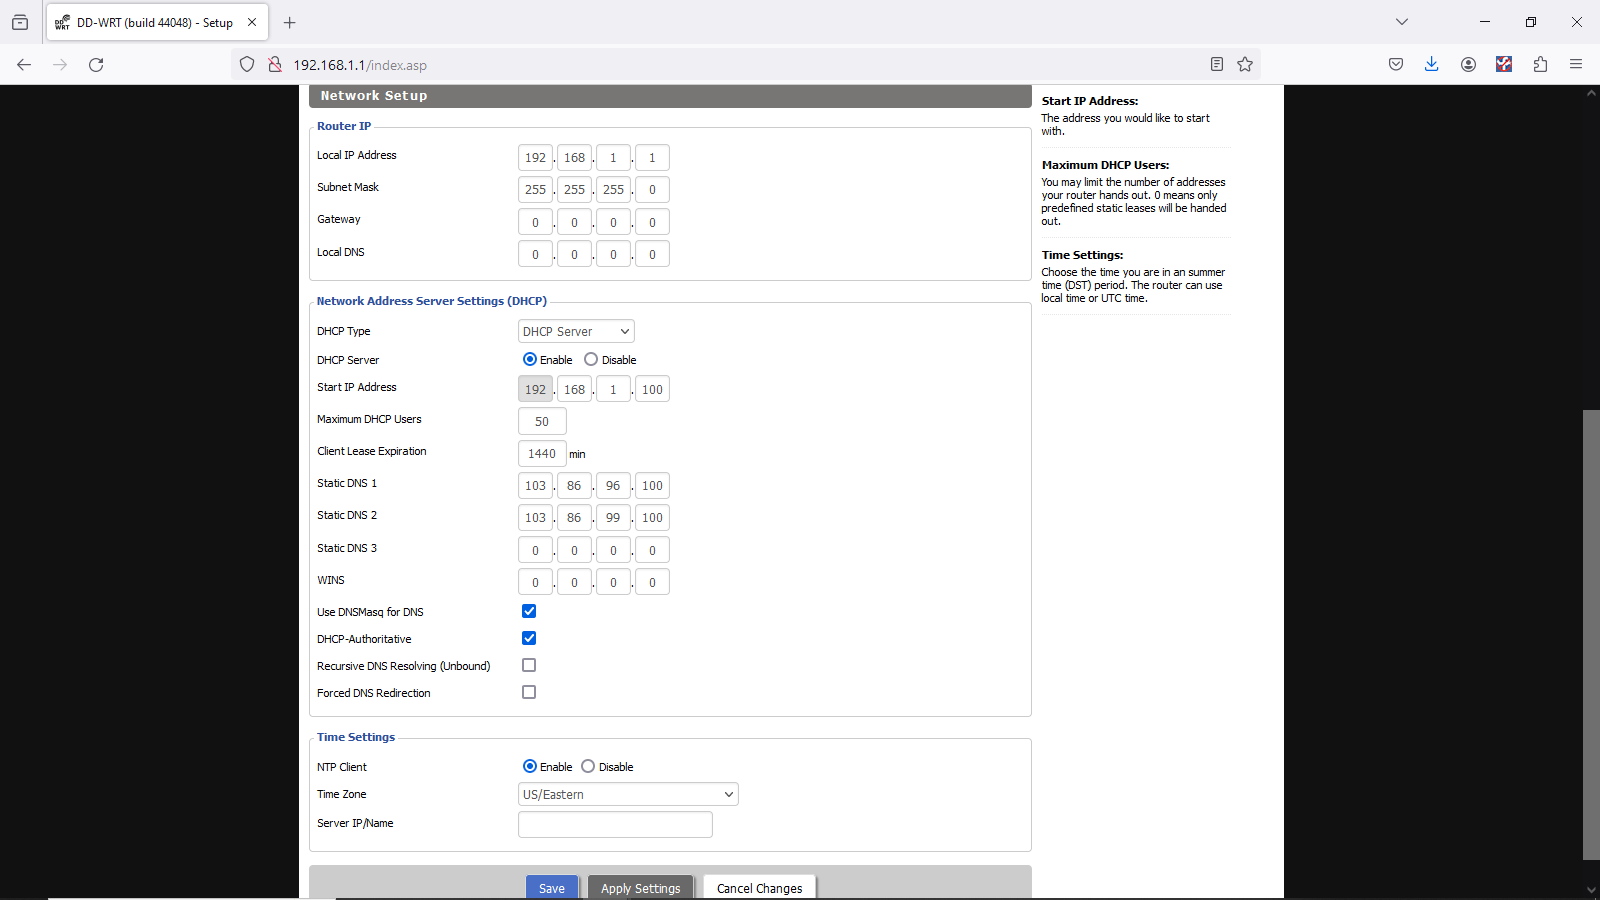
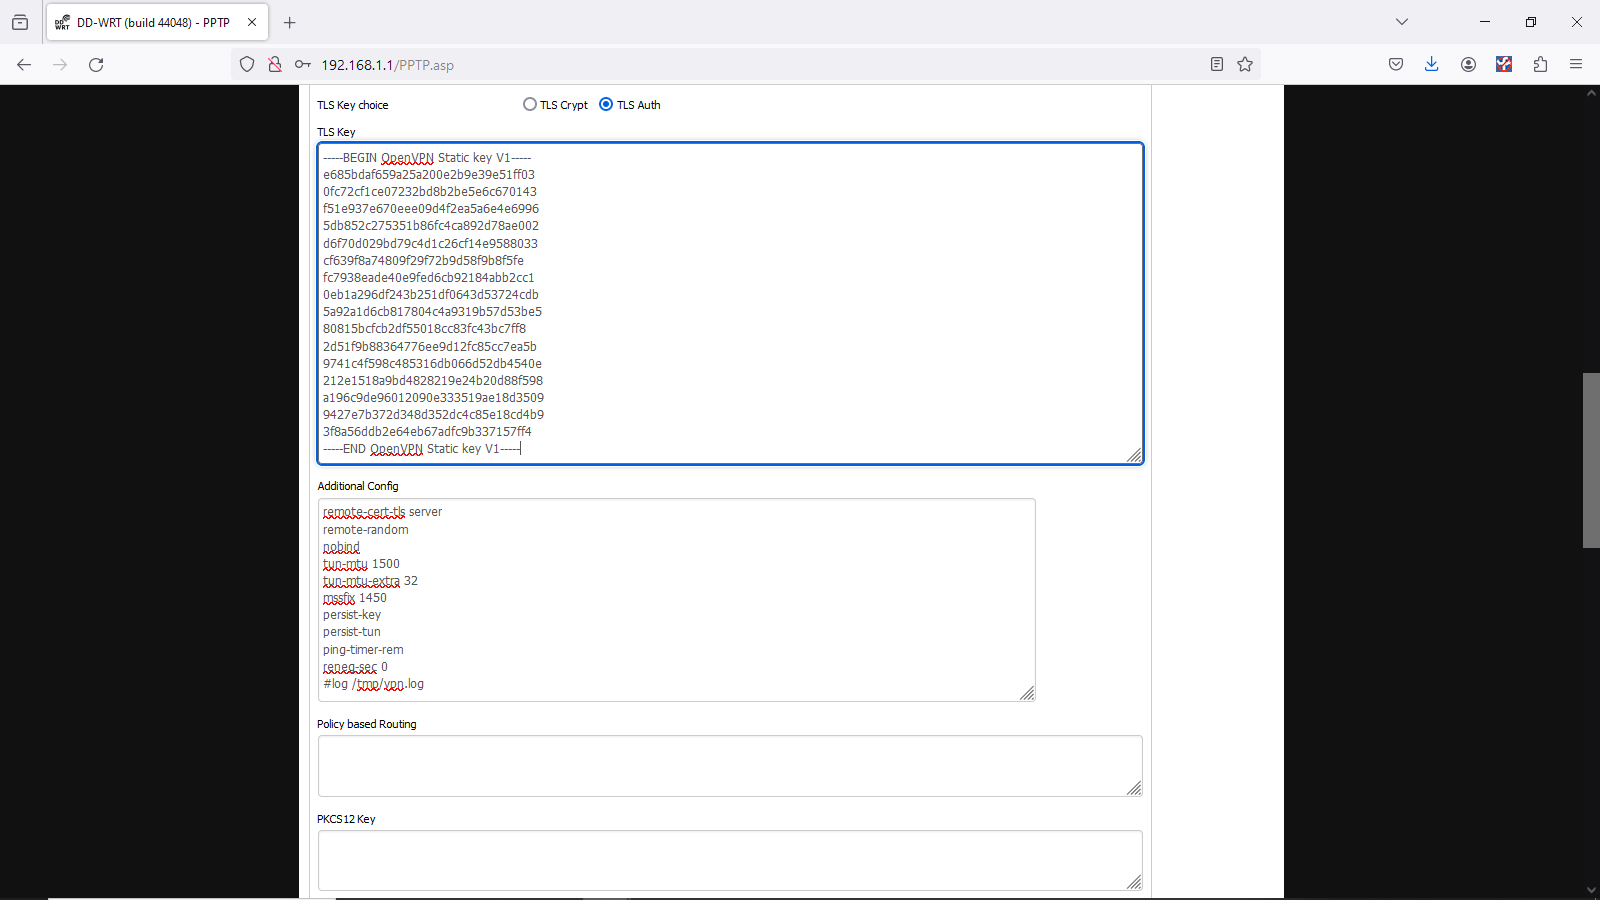
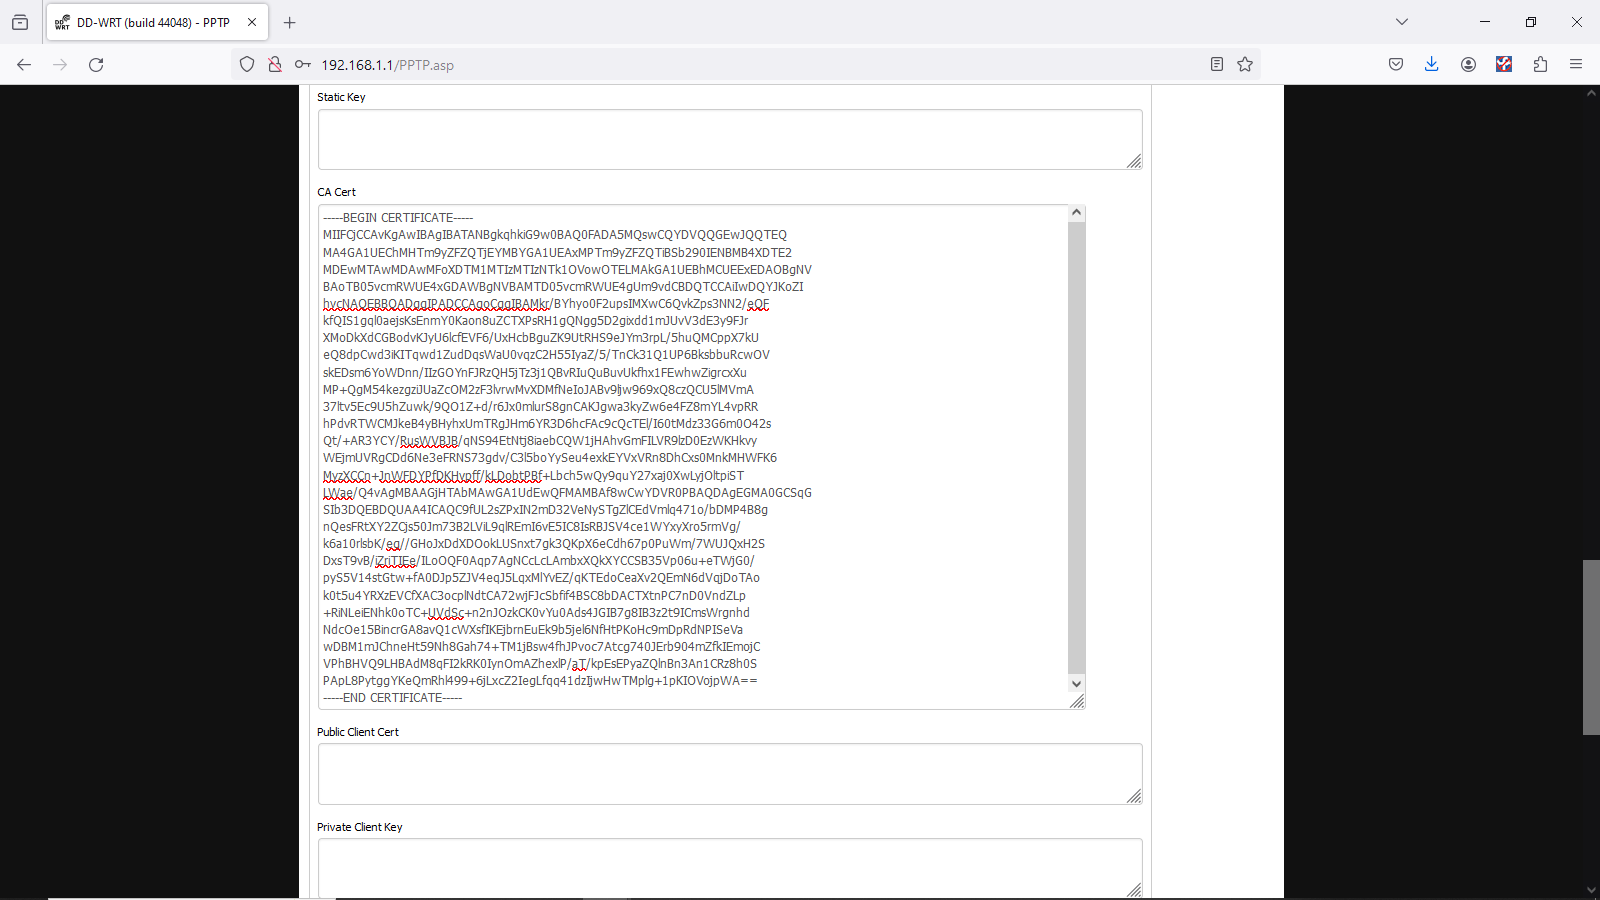
If you are using dd-wrt firmware, it’s easy to enable DNSCrypt. Just go to Services>Services and set DNSMasq and DNSCrypt to ON. Ensure that “Use DNSMasq for DHCP” and “Use DNSMasq for DNS” are checked in your DD-WRT settings to prevent DNS leaks.
I mentioned earlier that even using a VPN that your DNS requests are like a shining beacon…. This is not entirely true, if you are using NordVPN as I do. When NordVPN is active via OpenVPN, it typically routes all DNS traffic through its own encrypted tunnels as long as you set it up that way to not use the ISP DNS Servers (NordVPN’s DNS servers: 103.86.96.100 and 103.86.99.100). Running DNSCrypt simultaneously means you are encrypting queries that are already being encrypted by the VPN, which is redundant.
So, the moral of the story is that if you aren’t using a VPN with it’s own secure DNS Servers, you should probably set up DNSCrypt to insure your privacy, at a minimum, but, running both would gain you nothing except injecting more latency. And, if you have a choice, NordVPN would be the better choice, as not only is the DNS traffic encrypted, but so is all of your traffic, because it is all contained in the encrypted tunnel, thereby shielding not only your browsing habits from your ISP and snoopers, but all of your data as well.
Hope that this was all understandable, and sorry for the length, but it’s a very large topic. And, if anyone has any questions y’all know how to reach me. 😉