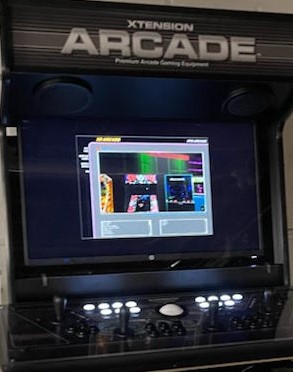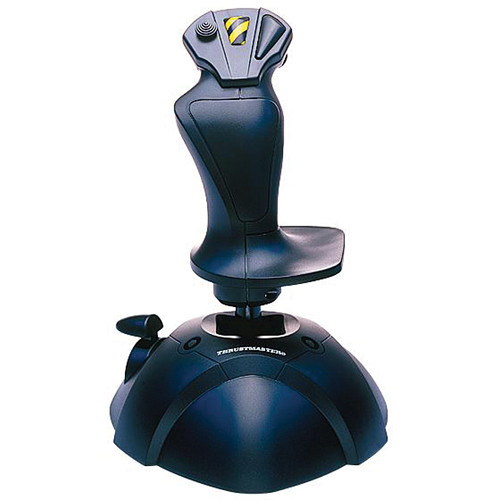
 This post specifically addresses not being able to make your selection under Maximus Arcade utilizing the joystick or gamepad. I have had a few people mention this issue. This post doesn’t really apply if you are using a Tankstick in a stand up cabinet or game console. That is because a Tankstick actually ’emulates’ a keyboard. However, if you use a game console or external hard drive version with a joystick or gamepad, then this post is for you. If you are still playing the arcade games with a keyboard, you should check out these two options: Click HERE for a link to buy a Thrustmaster USB wired joystick like the one pictured above. Or, if you prefer, you can click HERE for a link to buy a pair of wireless gamepads like the pair pictured above Both of these options are about $25 with prime shipping. Once you start utilizing something other than a keyboard to play your games, you will rapidly notice how inconvenient it is to select the ROM using the keyboard. Much easier to set up the joystick or gamepad to do so.
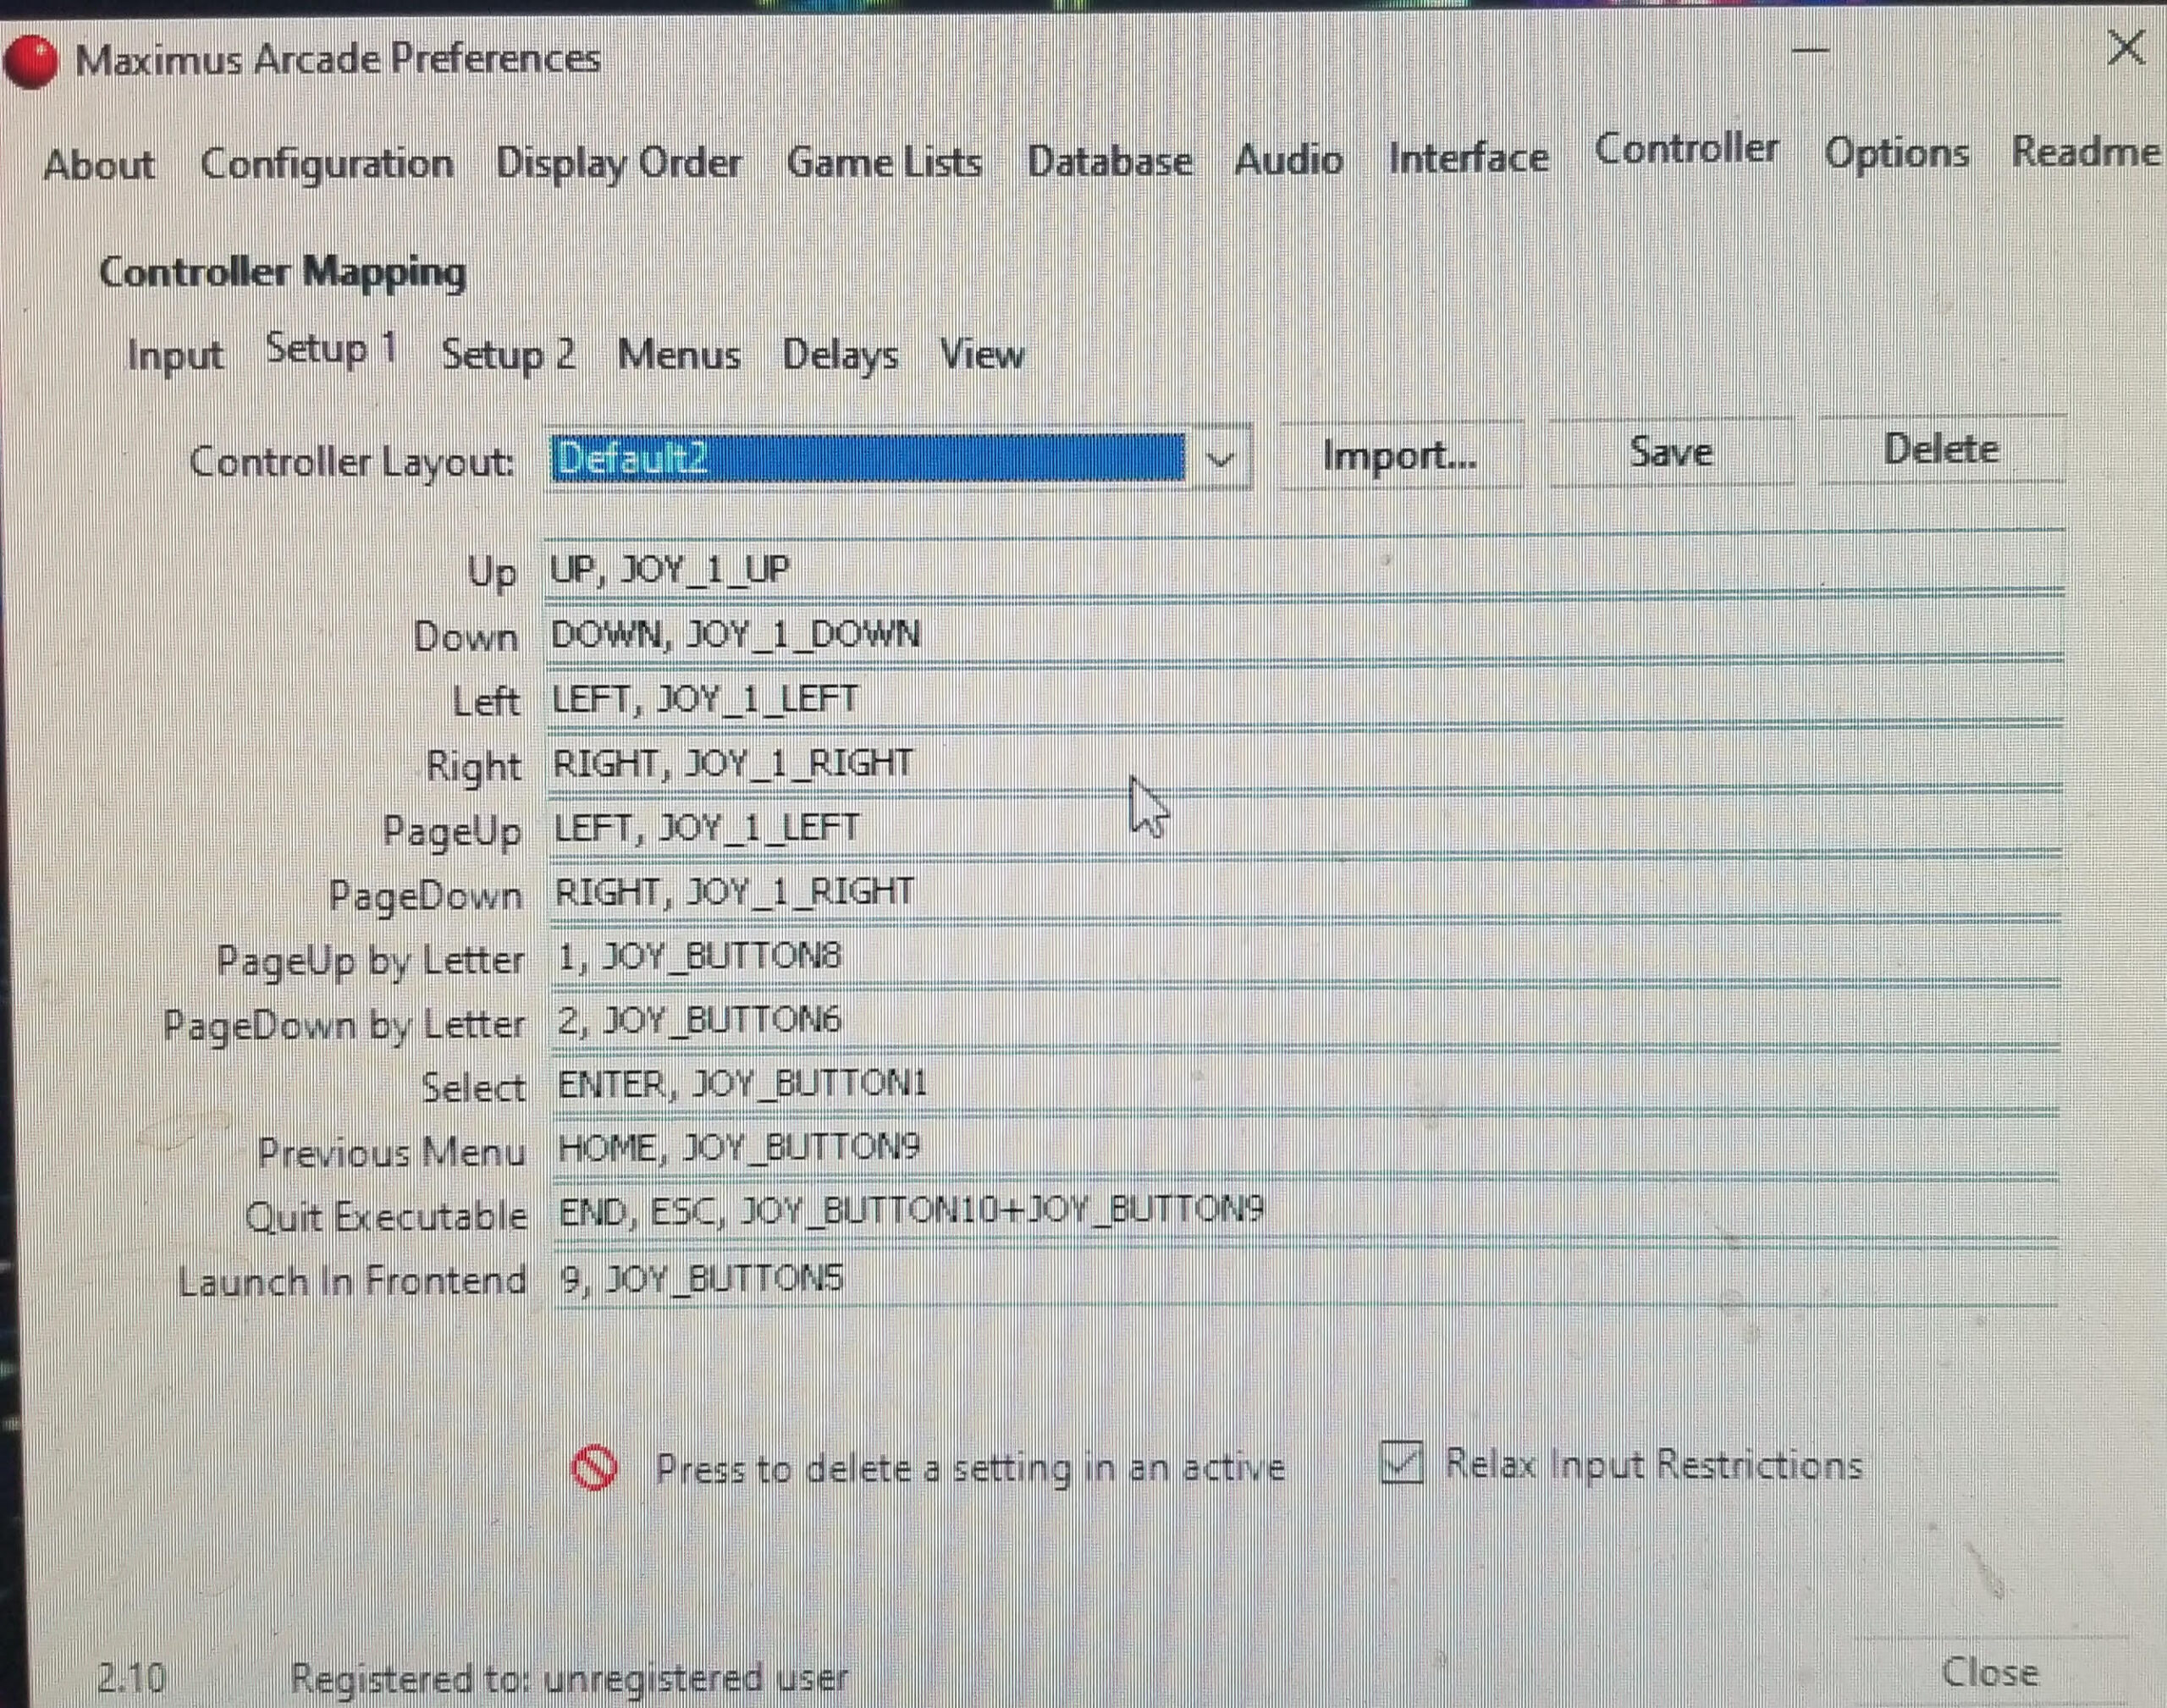
 In order to do this, you will need to enter the Maximus preferences. Easiest way is to load MA, then hit Ctrl-P. The preferences utility will load. I might add that changing the controller prefs, you will NOT need to move the Master ROM List to the top of the games list. That ‘lock’ only prevents changes to the games lists, not any of the other settings. In the picture just above, you will need to select the Controller tab at the top, and the Joystick tab on the left. The main thing that HAS to be set is #1 Capture Joystick/Gamepad.
 The other settings, #2 through #6 should be fine as they are, but depending on your joystick, you may need to select the other setting in #6. Something you should do is to select the View tab, like the picture on the right. This will allow you to know what buttons are what on your controller. Necessary, if like me, you need to move a couple buttons around in the configuration. In my case, using a Thrustmaster, the trigger button was button #1, and the button on top was button #2. The prefs in the Setup1 and Setup2
![]() tabs were set for button 1 to toggle the Favorites, and the Select was set to button 10, if I remember. The way to change them around is to highlight the setting then press the little red X at the bottom to delete that button. Then, you just need to press the button that you want. In the pictures just above, on the left and the right, you will see that I’ve already moved things around so the trigger will select, and the top button will cycle the Favorites. One other thing to realize that if it’s still not working properly, make sure you don’t have a flight joystick like the Thrustmaster. If you do, there is usually a side throttle control, mapped to a joystick. I have taken the liberty to mark it with an arrow in the picture just above on the left. If that control is moved forward or backward, it will override the joystick being able to select, so make sure it is in the neutral center position.
tabs were set for button 1 to toggle the Favorites, and the Select was set to button 10, if I remember. The way to change them around is to highlight the setting then press the little red X at the bottom to delete that button. Then, you just need to press the button that you want. In the pictures just above, on the left and the right, you will see that I’ve already moved things around so the trigger will select, and the top button will cycle the Favorites. One other thing to realize that if it’s still not working properly, make sure you don’t have a flight joystick like the Thrustmaster. If you do, there is usually a side throttle control, mapped to a joystick. I have taken the liberty to mark it with an arrow in the picture just above on the left. If that control is moved forward or backward, it will override the joystick being able to select, so make sure it is in the neutral center position.
Hope this posting helps everybody…. 😉